See the other articles in this series, especially Table covers – choices, which discusses the most common fabrics used. Also search online for articles and videos about working with your chosen fabric, as well as any sewing techniques you want to brush up on.
Separating your table covers into top and skirt portions facilitates handling and storing large covers, practicing on your performance table tops without the skirts, and laundering the top when needed (or even shaking away dust and lint). The classic attachment mechanism is Velcro. However, this isn’t required by law; you might try snap tape, for instance, or hooks and eyes, or even pins.
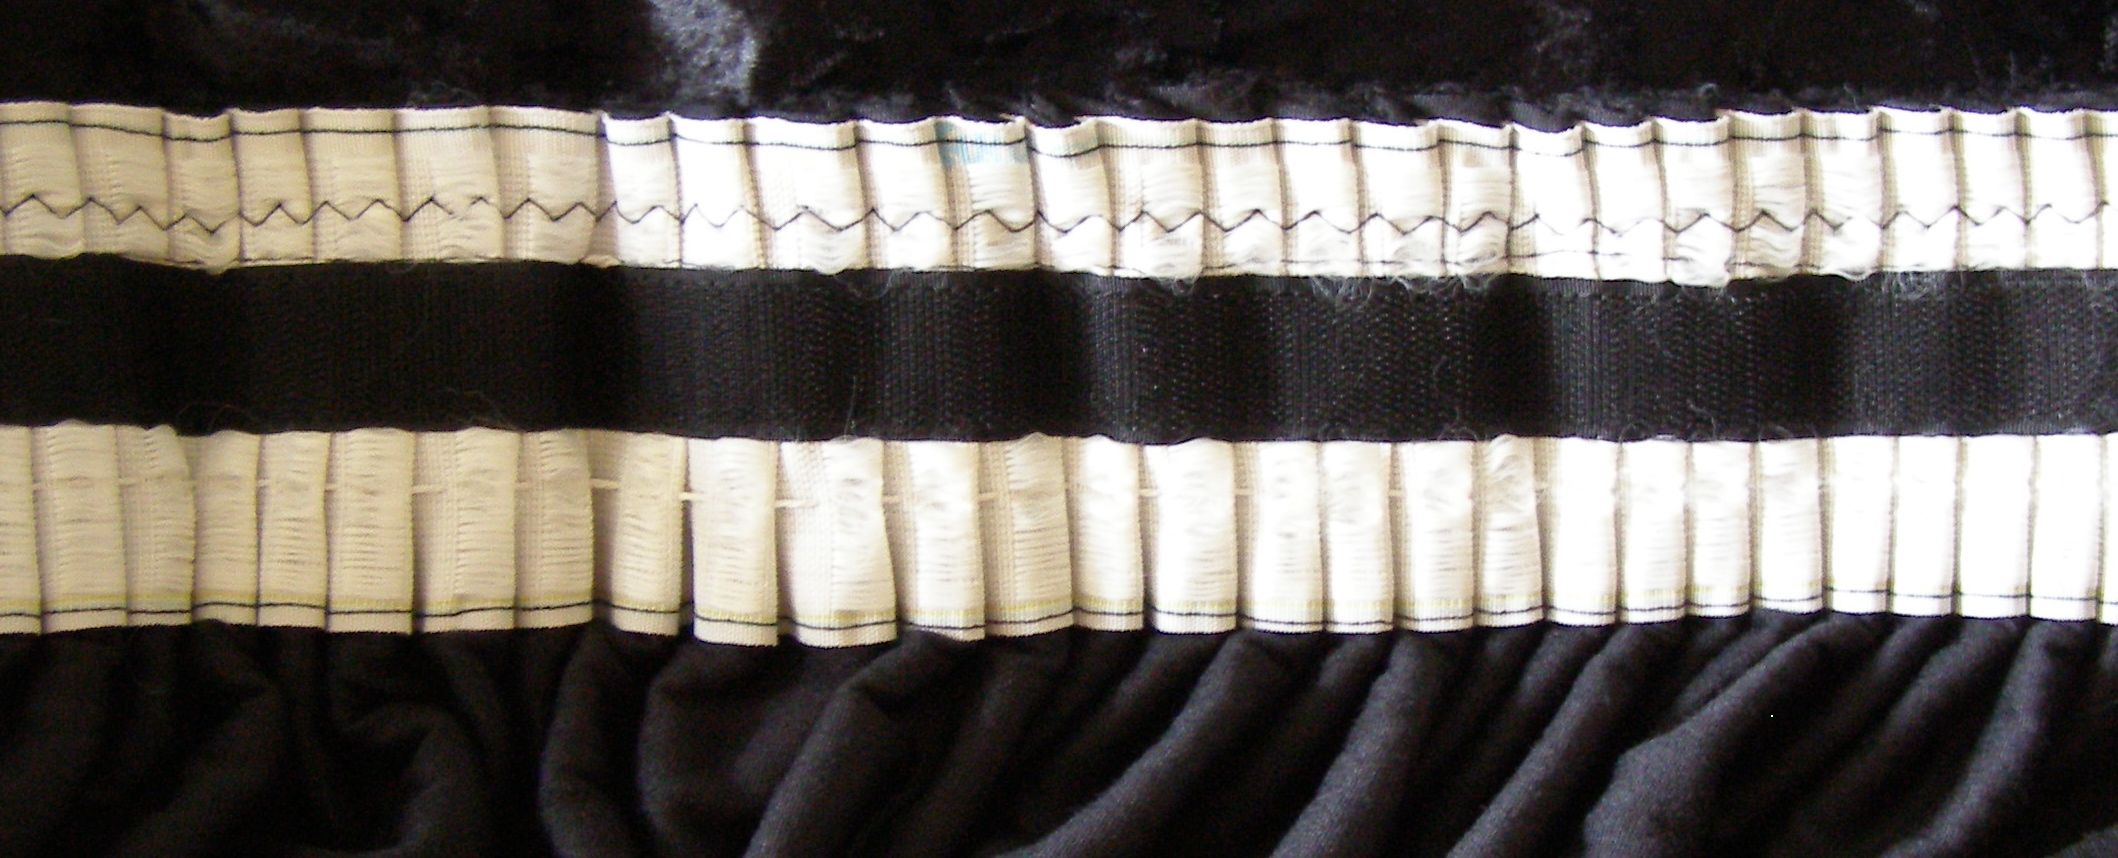
I made my first table skirt using crushed panne velvet gathered with drapery tape. In hindsight, I should have used a lighter weight drapery tape, or machine-gathered the fabric. Either would have created less bulk in the finished skirt. I stitched the drapery tape to the top of the fabric (on the wrong side), pulled the cords to the desired length, and smoothed out the gathers. I stitched them in place at the top of the drapery tape with zigzag stitches, to control the gathers during the rest of the sewing.
At this point, I also finished the ends of the table skirts, but left hemming for later.
I created a band for the skirt top by encasing a length of crinoline with matching fabric. Instead of crinoline, you could use heavy interfacing. (I didn’t want to fuse interfacing to the crushed velvet.) Instead of matching fabric, you could use contrasting fabric for the skirt band. While the skirt fabric required a raw length 3 times the finished length, the raw length of the band materials approximated the finished length, plus seam allowances. The crinoline width equalled the finished band width (mine is 4 inches wide), but you could double it over instead.
Once the crinoline was covered in fabric, with the ends finished as well, I pinned and sewed it to the gathered skirt portion. When stitching on the finished band, I placed all seams in the area that would eventually be covered by ribbon. More about this later.
I stitched Velcro to the middle of the drapery tape (seen above as a black stripe). If I had it to do again, I would probably stitch it to the top edge instead. It can be hard to level the skirt when attaching it to the table top portion, since I’m not matching top edge to top edge. I would have had to attach the Velcro before the band, to avoid stitching on the outside of the finished band in an area that the ribbon wouldn’t cover.
Use the Velcro “hook” side on the skirt, and “loop” side on the table top. If you put the hook side on the table top, it would be easier to fold the skirt, but you might snag your performance attire against the table top. Also, you’re more likely to put the table top in the washing machine. I use 7/8 to 1 inch wide on the skirt, and 1.5 to 2 inch wide on the table top. Using different widths of Velcro makes it easier to align the skirt when dressing tables at the venue: there’s a bigger target to hit. You can order different sides of Velcro separately when buying from Seattle Fabrics. Other vendors sometimes sell both sides as a single set. I placed Velcro all the way around the table top to save time in setup and allow me to attach things to the back, like mallet pockets.
Working with Velcro:
• Velcro doesn’t shrink. However, fabric with Velcro sewn to it is less flexible, because Velcro doesn’t stretch, so it may seem shorter.
• Cut Velcro into lengths of a yard or less to make it easier to handle. Cut the Velcro for the sides of the table top even shorter (30 inches on my tables). It’s OK to leave gaps between the ends of two pieces.
• When you buy Velcro, ask the salesclerk to package the two halves separately, so they don’t hook up in the bag and create a tangled mess. If both sides are sold as a unit, already joined, this isn’t necessary.
• You don’t need to seal the cut edges of Velcro in any way.
• When sewing Velcro, use a heavy needle and engage the sewing machine’s walking foot.
• Sew close to the edge, which is smooth and clear of “hooks.” You may find it easier to sew Velcro with a zipper foot.
• Velcro is available in multiple colors. I used black, but you could match your covers.
• If the Velcro “hook” snags other surfaces in transport, apply an extra length of “loop” Velcro to shield the hook.
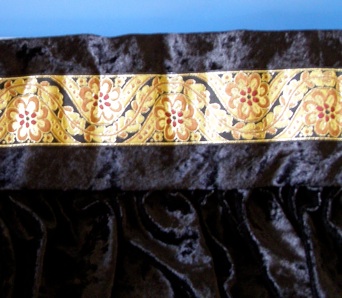 Adding ribbon: Ribbon adds a nice decorative touch to table skirts. I attached the ribbon using double-sided adhesive fabric tape near the top and bottom edges. (My ribbon is 2 inches wide, and the fabric tape is 1/4 inch wide.) Though designed for temporary attachments, the tape has lasted well. You could stitch the ribbon in place if you prefer. I worried that I wouldn’t sew it straight, and that the ribbon might pucker from the tension on the edges, as well as the weight of the skirt pulling it while I sewed. (Note: though the band looks wavy without tension in the photo, it looks fine in place.) If you want to stitch the ribbon in place, I recommend sewing by hand. You can also pin it in place for each performance, sticking straight T-head pins through the ribbon and band, right into the foam.
Whenever you create a long visual line, like the ribbon or the band itself, you risk an optical illusion where a completely level surface appears to sag. Ancient Greek architects countered this effect by slightly curving the center upward. Before hemming the skirts, try putting them on the table top and checking for this illusion. You may want the middle edge slightly higher than the outside, with the skirts proportionally longer in the center, perhaps 1/4 to 1/2 inch.
Hem the skirts after making the table tops, so you can mark the hem with the covers fitted in place. Always mark the hem on the same tables and foam you use in performance.
Table top cover: The table tops are fairly simple to make. If you use the whole width of fabric, the selvage seals the long edges, and you can hem the ends. Place the fabric over the foam, with perhaps a few inches of fabric hanging down the front, and the rest at the back. (The skirt will cover the front, but you need enough fabric at the back to cover the bare foam.) Mark one long edge and one end of the top, along the foam edge, with tailor’s chalk. Sew Velcro along these. Then fit the table cover onto the foam, mark the other edges, and pin and sew the Velcro. Allow a small margin (maybe 1/4 inch) above the Velcro, so it doesn’t fold over the edge of the foam, but lies flat along the side of it. Of course, if the skirt side of the Velcro is sewn lower than the top edge, then you’ll need to place the table side Velcro lower too, so it matches up.
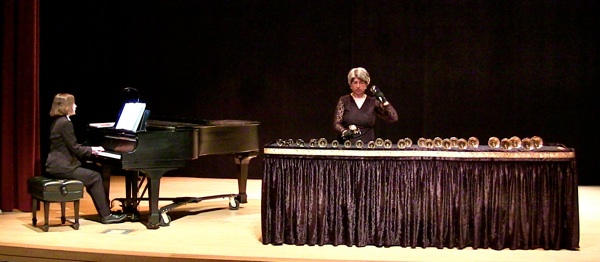
Consider placing the Velcro strips so the top edge of the table skirt is slightly higher than the foam. This creates a visual landmark that may prevent you from putting a bell so close to the end that it rolls onto the floor. If high enough, it can even serve as a barrier to light bells rolling off the table. However, if the front edge is too high, it will block the audience’s view of the bells lying on the table.
Unless the top fabric is bulky, you don’t need to remove excess fabric at the corners. You also don’t need to sew the corners, unless you want to create a snug fit, like a fitted sheet. Leaving the corners open gives you more flexibility to fit the foam pads, which is especially important if you travel and use borrowed foam. Foam sizing is often imprecise.
Another style of table top resembles an upholstered cushion. Encase the foam pad entirely in fabric, either permanently or with a zipper or Velcro to allow removal for cleaning. If you use this approach, you can use your main fabric on both sides, or use heavy muslin on the bottom. If you use the same fabric on the bottom, you can flip the pads over when you practice, extending the lifespan of the covering. You also get the experience of practicing on the same fabric as you perform on. Add a carrying handle to each pad, using a strip of matching fabric or webbing. You can even use this style without skirts in situations with limited setup time. Simply make them with Velcro along one long edge, but not the other. Use the Velcro with skirts and the other edge without.
If you want to make a simple draped table cover, like a dining room tablecloth, you don’t need instructions. Just measure, cut, hem, and drape. If you want to make a straight skirt without gathers, use the approach above, omitting the gathering step, but perhaps adding pleats at the corners for ease.
Copyright © 2013 Nancy Kirkner, handbells.com